We talked about the wide world of disc brakes in our previous look at brake systems. Now let’s jump into the dark arts of drum brakes. Because there are generally more moving parts with a drum brake system, it’s reasonable to be intimidated by all those pesky springs and adjusters. Fear not! Tackling them isn’t as difficult as it appears at first blush. (This should go without saying but a reminder never hurts: This is a general guide, and it’s always best to refer to your vehicle’s service information before jumping head first into battle with anything on your vehicle.)
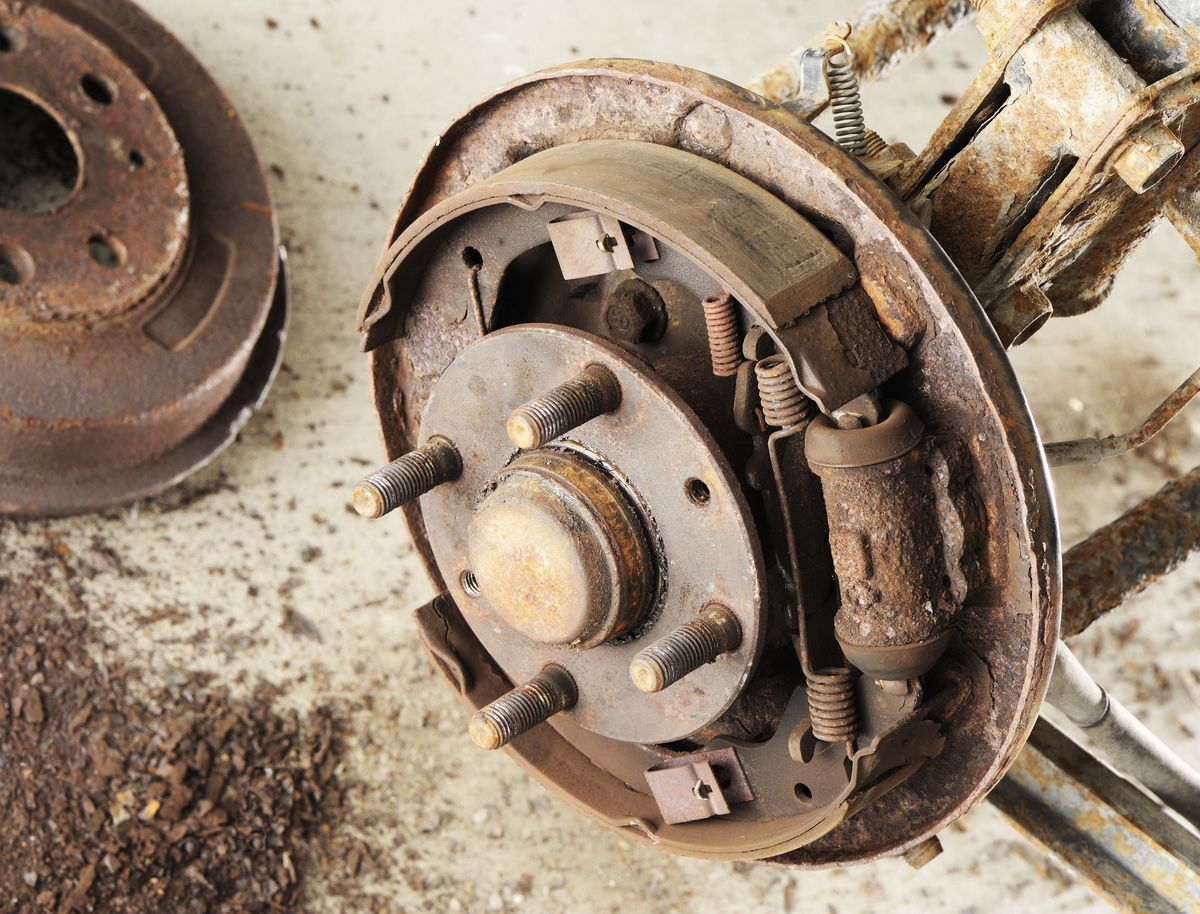
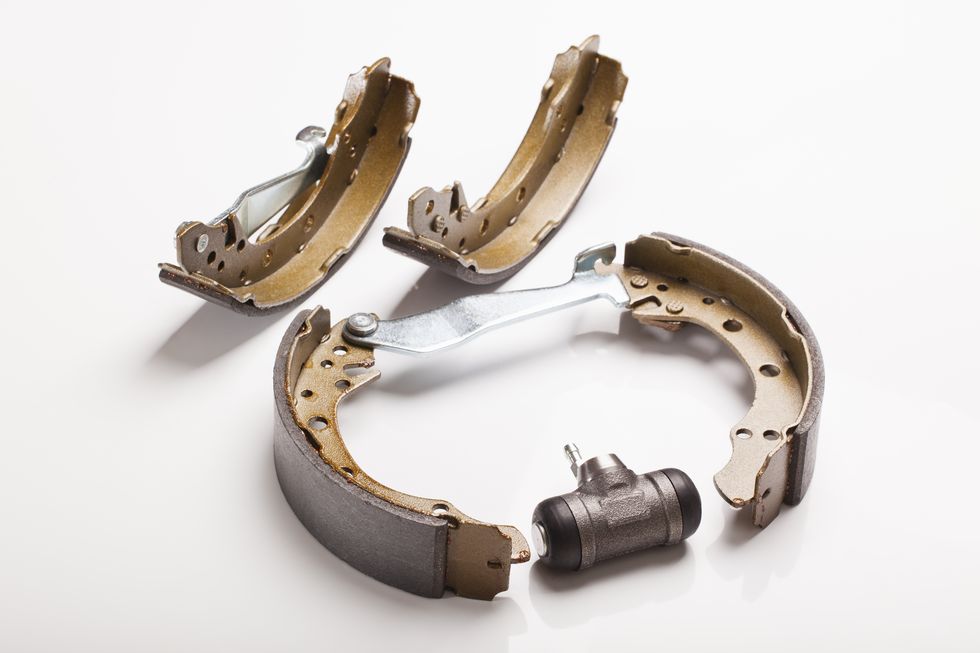
First, a distinction: We’re talking about hydraulic drum brakes, not mechanical ones, so keep that in mind. Next, let’s break down the parts you’re likely to see in your drum brake system. You’ll be dealing with a brake drum, brake shoes, wheel cylinders, and brake hardware. Unlike disc brakes, drum brake hardware generally comprises a collection of springs and spring retainers. You’ll also see a brake drum backing plate and a brake shoe adjuster.
Functionally, the system works the same as it would with rotors and calipers: You press a pedal, a piston is pressed in the master cylinder that pushes brake fluid through lines and hoses before reaching wheel cylinders. At that point, disc and drum brake systems operate differently. On cars equipped with drum brakes, the brake fluid goes into one or two wheel cylinders, which push the brake shoes outward against a brake drum. Keeping all of this mess together is a backing plate, which the brake shoes are fastened to by a series of springs. The springs also help the brake shoes return to their resting position. The number and style of springs depends on the design of your drum brake system, of which there are effectively three (leading/trailing shoe type, twin leading shoe type and duo-servo type).
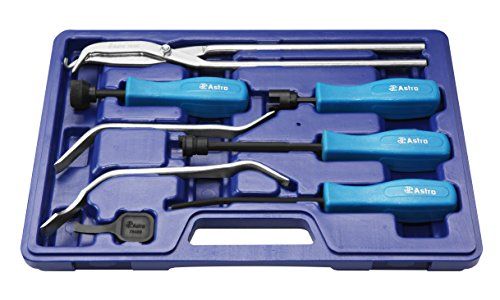
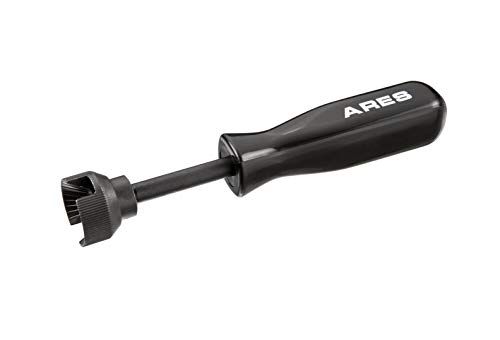
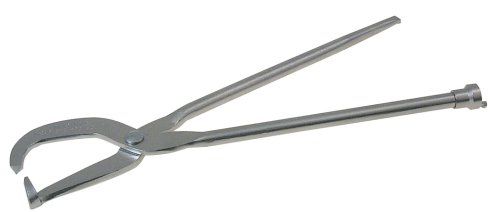
Before starting work, purchase the appropriate shoes and hardware for your brake system. The springs themselves go through heat cycles and become less effective at being springs over time, so it only makes sense to drop a few extra bucks on a new set. Working on drum brakes also requires some special tools to make your life easier. You’ll need a drum brake retainer spring tool and a pair of drum brake spring pliers. These can often be purchased as a set. You’ll also need simple tools like a hammer, pliers, and other assorted hand tools to get everything apart.
To start, you’ll need to properly and safely lift and support the vehicle and remove a front wheel, then remove the spindle nut and cotter key. Behind the spindle nut should be a washer and a wheel bearing. (Again, these designs varied vastly by years and by manufacturer, so you’ll want to reference your repair information before jumping in with both feet.) With the bearings out of the way, you should be able to safely remove the drum.
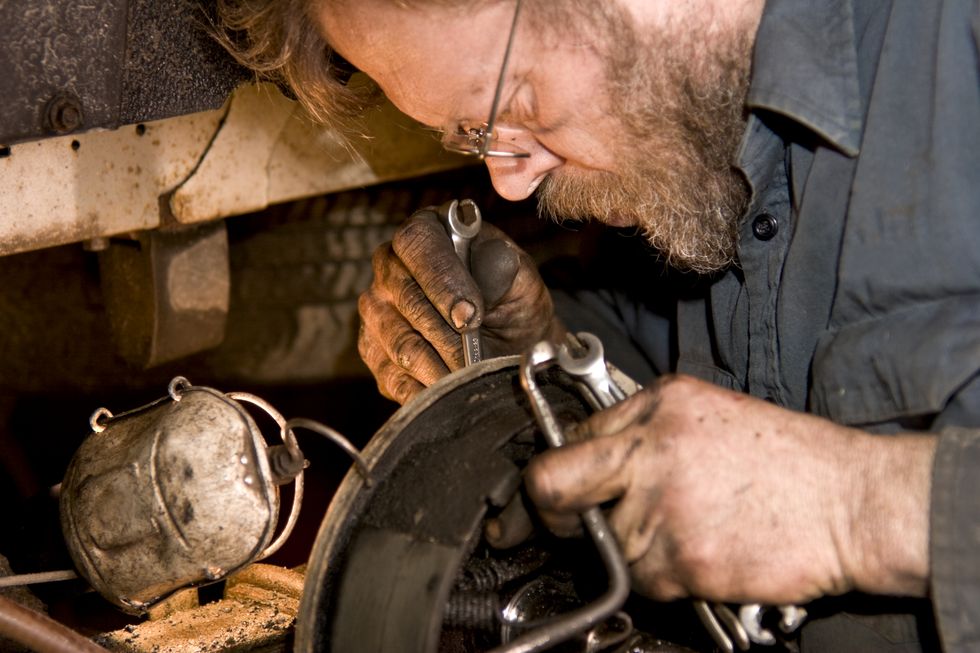
This will expose exactly what you’re dealing with. Don’t fear, it’s not that bad. Take a picture, or only do one side at a time, to make sure that you have a point of reference while you’re going through the process. Next, it’s time to remove the brake shoes. To get the shoes out of their place, you’ll first need to remove the springs using your spring pliers, and then free them from the backing plate with the retainer spring tool, compressing the retaining spring and removing the pin from behind the backing plate. On some cars, you’ll encounter a self-adjusting cable, which will also need to be removed before taking off the shoes. You’ll also have a brake adjuster that needs to be taken apart, cleaned, and lubricated.
With the shoes removed, you’ll effectively just see a backing plate with a wheel cylinder bolted in place. The wheel cylinder is probably the most volatile and important part of this whole mix. You will want to look behind your wheel cylinder’s dust boots to make sure that its seals have not failed. If you see any evidence of your wheel cylinder leaking, you need to replace it. It’s also possible to rebuild your wheel cylinder, so that’s an option for those handy with the process. (However, if you’re reading this, I’d suggest simply replacing them.)
You’ll also want to make sure that your backing plate is sound. If it has succumbed to rust, you’ll need to replace that, as well.
Assuming your wheel cylinder is ready to go, you can start the reassembly process. On your backing plate, you’ll see a few raised areas where your brake shoes will sit. Lubricate those with the same brake lubricant you used on your disc brakes. You’ll want to be careful as to not add too much grease, as you don’t want to contaminate the brake shoes.
While some brake shoes are interchangeable, others are designed to differ based on whether it’s the leading (frontmost) and trailing (rearward) brake shoe. You’ll want to make sure that your brake shoes are in the proper order for your style of brake system. This is where the picture or another reference point comes in handy.
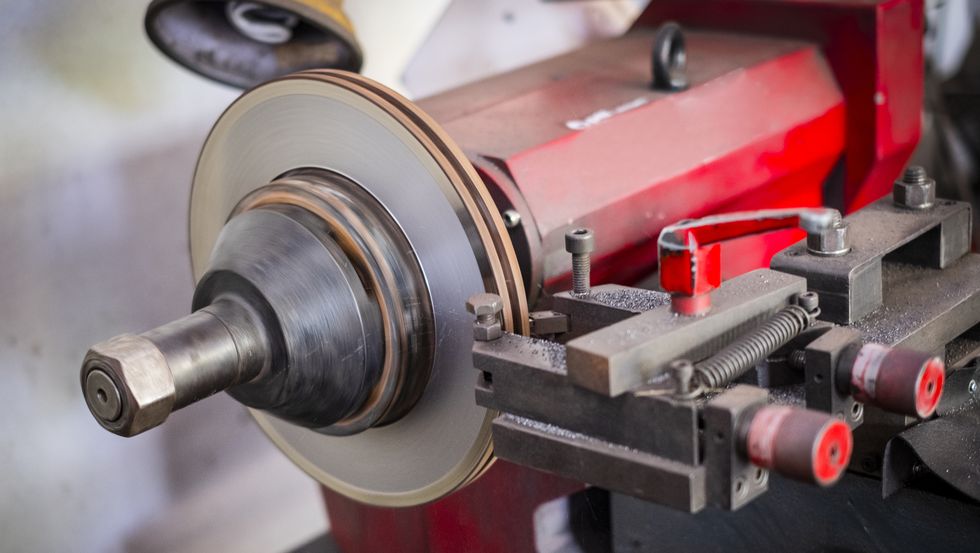
With your shoes correctly attached to the backing plate, you now can look at your drum. Just like our adventure with disc brakes, you will need to have your brake drum resurfaced or replaced. (Important to note, on most cars with front wheel drum brakes, the hub, containing tapered roller bearings, is attached to the drum. It’s always a good idea when servicing drum brakes to make sure that the wheel bearings aren’t wearing prematurely and are well lubricated. More importantly, remember that there are inner and outer bearings, not just a single outer bearing.)
If your brake drum is ready to reinstall—which means your backing plate is fully furnished with the new shoes and hardware—you’re on the home stretch. Slide the drum and hub assembly back onto the spindle, re-install the outer bearing and start the process of adjusting your brake shoes.
Remember that adjuster you just cleaned and lubricated? That little adjuster helps make sure your shoes are pushing out far enough to grab the drum. You can adjust this from the back of the backing plate, though it is generally easier to get it close from inside the brake assembly.
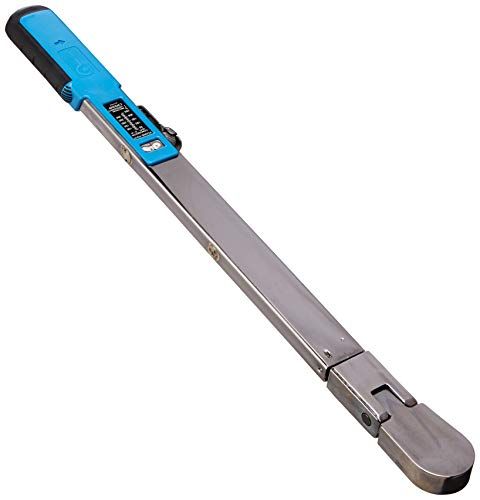
If your brakes aren’t adjusted far enough out, they won’t grab the brake drum correctly. Too far out and the brake drum isn’t going to spin. What you’re looking for is a light drag while you spin the drum. When you get the shoes adjusted, you can finish reinstalling your drum and hub assembly by threading the spindle nut back onto the spindle. There is a torque specification for this, so it’s best to reference your service data.
You’re done! With one wheel, anyway. The process is similar for all four wheels, though the rears won’t have an attached hub assembly. On relatively modern front-wheel-drive vehicles, you’re more likely to find sealed bearings pressed onto the hub, or a fully replaceable hub assembly.
From there, you can burnish your brakes, make your final adjustments, and not have to worry about your brakes—until they start to wear again, that is. Then rinse and repeat.

