Stopping is arguably the most important feature your car has. Sure, rolling and moving under its own power are both important, but slowing down your mobile steel structure is paramount to operating a vehicle safely. Unfortunately, for both your peace of mind and your bank account, brakes are a wear item. These components are essentially sacrificed to do their jobs properly.
That means that you’ll have to have your brakes periodically serviced—or if you’re ambitious and handy, you can service them yourself. As important as brake systems are, they’re also generally an easier system to service. If you’ve never jumped into the world of car repair and you’re thinking about taking the leap, here’s your chance.
First, let’s talk about what’s involved here. Understanding your car’s brake system will help you perform your task more easily. Stopping your sled starts at the brake pedal, which when pushed engages your brake master cylinder. From there, the master cylinder sends fluid through the brake lines into various components (like proportioning valves and antilock brake system pumps) before reaching flexible brake hoses.
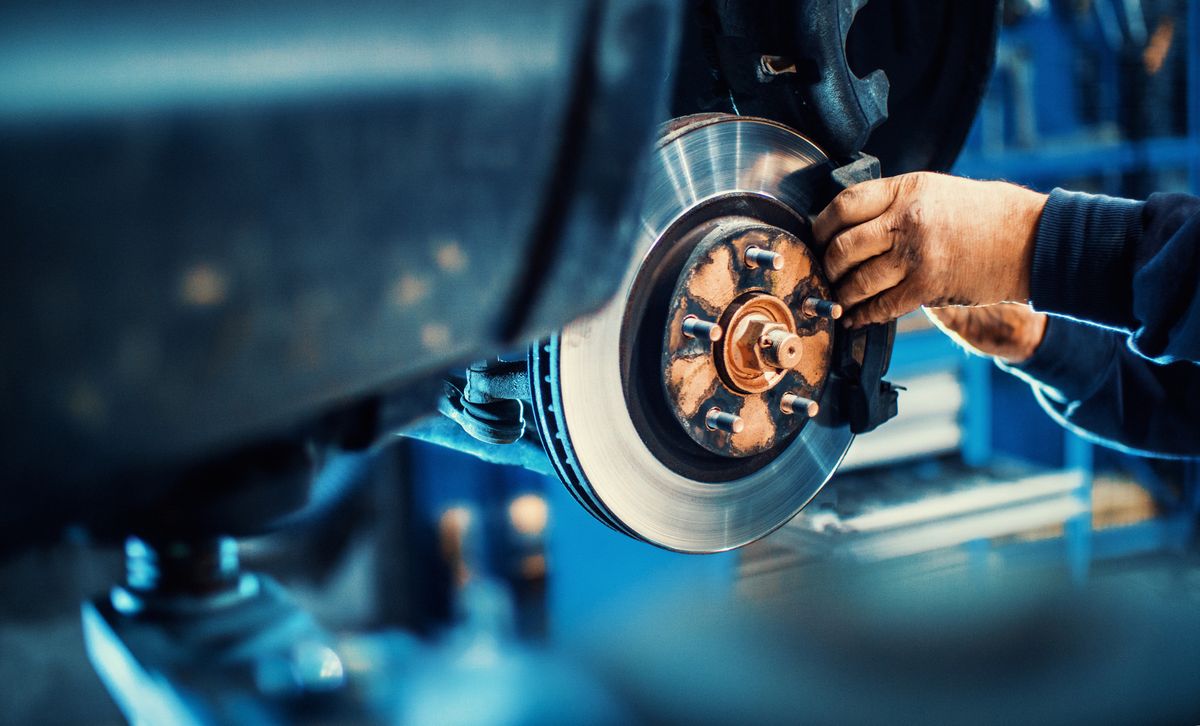
In most cases, the brake fluid will enter your brake caliper from there. The fluid then is transferred through the brake caliper’s piston(s), exerting force on the brake pad, which responds by clamping on the brake rotor. The clamping action of the brake pad to the brake rotor turns your motion into heat (aka, friction), which slows you down. Simple!
Now, there are several ways for automakers and aftermarket suppliers to create a functioning brake system. That means you will need the appropriate service information for your project to understand all of the nuances in performing this job for your specific application. This guide, however, will tackle the broad strokes of what you’ll encounter.
The big rub with working on your car, aside from getting dirty, is having the right tools to get the job done. You can check out this handy guide to starting your tool collection, but brake jobs could require a handful of special tools. You’ll need a way to lift your car off the ground, like a jack and jack stands or a hydraulic lift (if you have a lift, you probably don’t need this guide). From there, you’ll need a variety of hand tools like sockets, a ratchet, wrenches, screwdrivers, hammers, and a caliper piston compressor. Again, you’ll want to reference your service manual to know exactly what tools you’ll need.
With tools in hand and a car on the ground, the formula for doing a brake service is as straightforward as car repair can get.
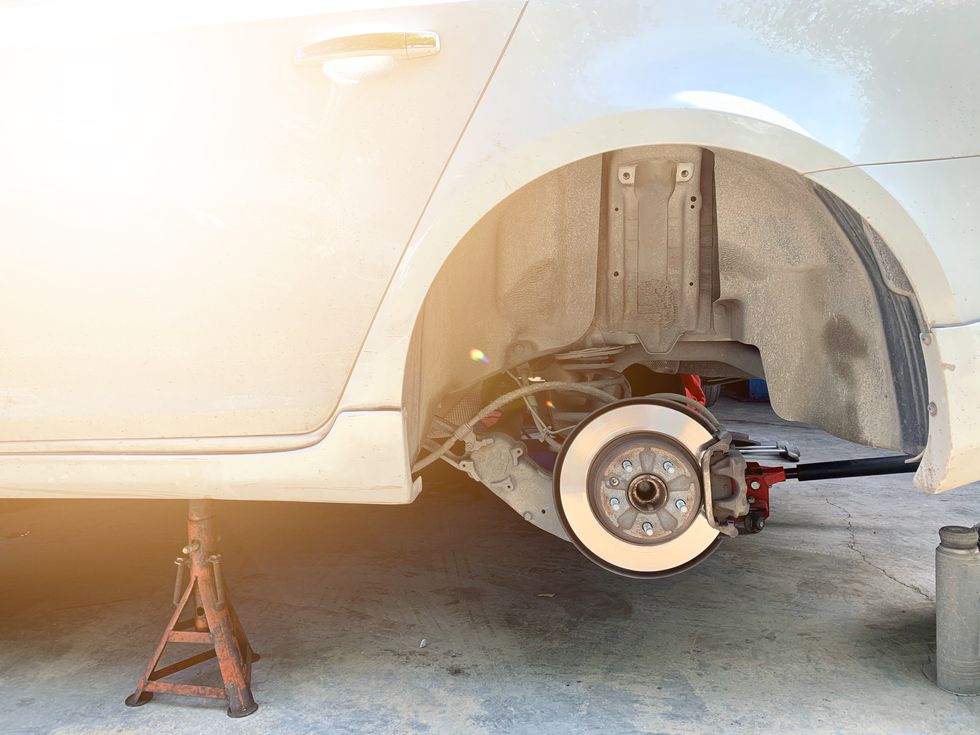
Securely lift the vehicle at one of its recommended jack points. From there, you’ll need to remove the wheel. If you don’t have access to power tools, it is wise to preemptively crack the lug nuts free of their clamping load before lifting the car.
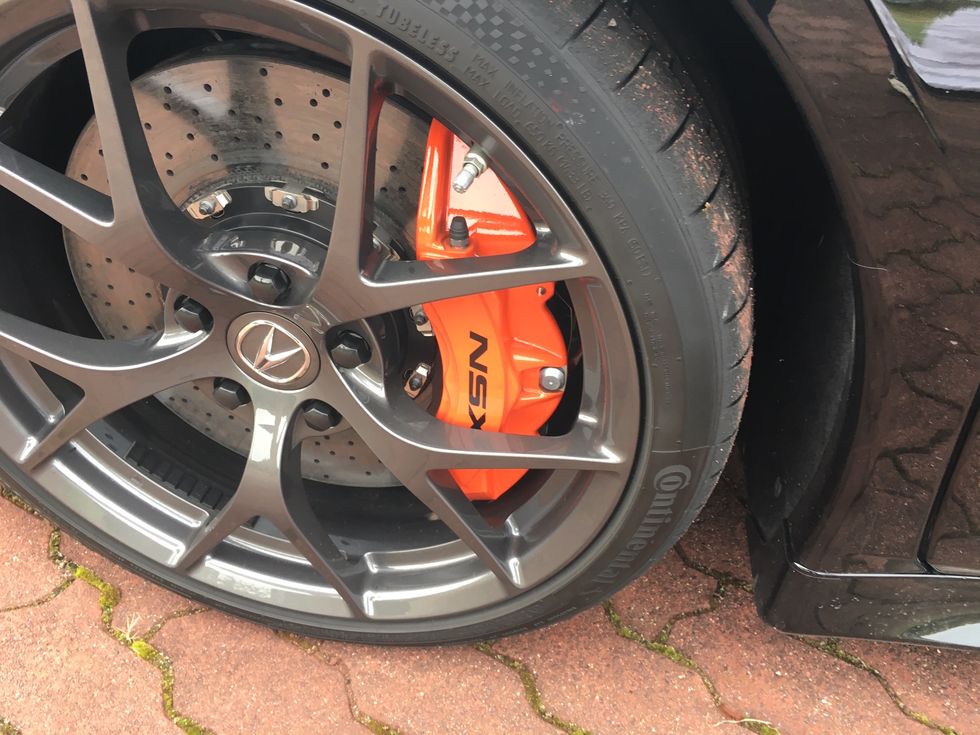
With the wheel removed, you’ll see your brakes and suspension components. While we talked about all of the major brake components earlier, there is some nuance into what you’re probably seeing. Your car’s front brakes likely operate by way of either a fixed or floating caliper design. If you have pistons on both sides of the caliper, it’s a fixed design. If you have pistons on only one side of the caliper, it’s floating. Generally, you’re going to find floating calipers on normal cars and light trucks, with fixed calipers more often finding home on performance-oriented brake systems.
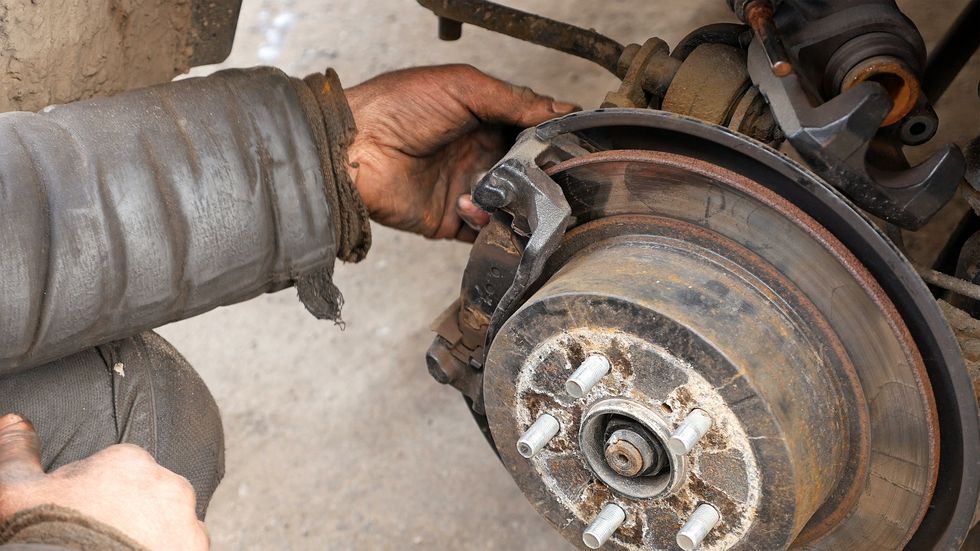
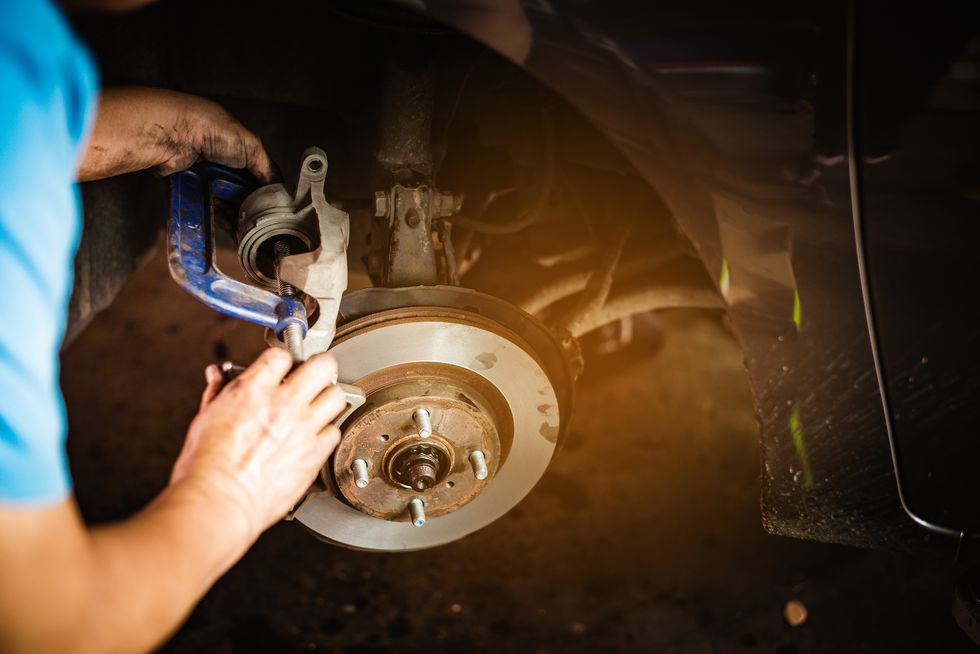
If you’ve got a set of floating calipers up front, liberating your calipers and brake components will go basically like this: remove the caliper guide pin bolts, remove the brake caliper from the caliper bracket, and safely support the caliper so the hose isn’t stressed by the weight of a dangling brake caliper. With the caliper removed, you can pull the brake pads off the bracket, and then remove the bracket from the steering knuckle. With the bracket out of the way, you can now remove the rotor.
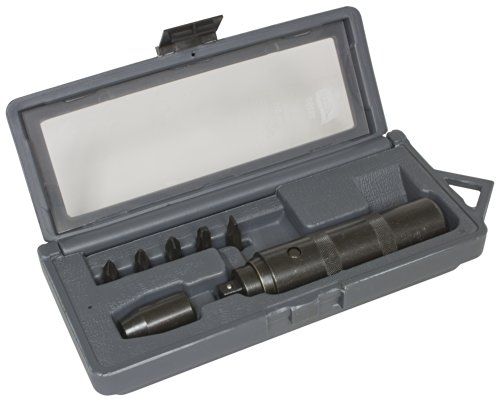
On some vehicles, the rotor is built into the front hub, but that’s a less common design with modern vehicles. However, you could find that a screw was used to hold the rotor to your hub during its initial assembly. Sometimes you’ll need to use an impact screwdriver to break its rusted bond and get the screw spinning freely. With all of that out of the way, you can now start replacing parts.
Installing a new brake rotor is essentially the same as removing one: make sure it’s clean and free from its rust inhibitor coating and put it on the car exactly how it was before you removed it. Now, you don’t always need a new brake rotor: old rotors can be resurfaced. To get the most life from your new brake pads and the optimum performance from your braking system, however, you need a new surface for your brake pads.
With the new rotor in place, now’s the time to address your brake caliper bracket. This chunk of metal is more important than it seems. It’s where your brake pads slide when they’re doing their clamping. With most vehicles, you’ll see some hardware called abutment clips. These clips help save you money by giving you a new, flat surface for your brake pads to slide on without having to replace your brake caliper bracket. You’ll need to make sure that there isn’t any rust or material build-up underneath these clips, and it’s a good idea to replace these clips every time you service your brakes. In northern climes, it might be a good idea to use a light coating of brake caliper grease underneath these clips to help prevent any rust build up putting unneeded pressures on the brake pads, which make them more likely to stick in place.
Speaking of grease, you’ll want to make sure that your guide pins are well greased and move freely. If these pins are rusted into the caliper bracket, you will probably need to replace both the pin and the caliper bracket. If everything is moving freely, with no failed parts, reinstall the caliper bracket. Reference your vehicle’s service information to get the appropriate torque specifications.
With the caliper bracket and rotor reinstalled on the car, now is the time to install your brake pads. It should go without saying, but you want the friction material facing toward the brake rotor. You should also make sure to reference which brake pad is your inboard (inner) and outboard (outer), because there can be some important features like wear sensors or mounting hardware attached to only one brake pad. Also, make sure your brake pads move easily on the bracket and the abutment clips. Remember: This is where they’re going to slide for the rest of their lives.
After the brake pads are installed, you’ll want to compress your brake caliper piston, so it can slide back over the fresh pads and rotor. There are plenty of ways to do this, but the safest bet is to use a brake caliper compressor. You’ll also want to make sure that the piston(s) move freely and easily, and that there are no signs of a failed seal. If you see brake fluid staining or rust forming around the piston of the caliper, or it takes a lot of force to compress, you might need to replace the caliper. When compressing calipers, some people prefer to open the brake bleeder screw to evacuate the brake fluid from the caliper. This is to prevent any possible damage from pushing brake fluid back through various anti-lock brake components. If you choose that path, you’ll also have to bleed your brakes.
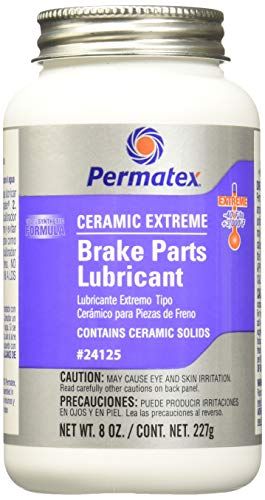
Now that the brake caliper is compressed and your pads are mounted to your bracket, you’re almost home. Add a little brake lubricant to the face of the brake caliper piston and then simply mount the brake caliper to the bracket, and secure the caliper to the guide pins. Make sure that your brake hose is routed properly, and then reinstall the wheel.
Rear disc brakes operate mostly the same way, however, there are some major problems to look out for. The biggest: your emergency brake. Some disc brake systems use a small drum brake inside of the rotor, which effectively turns the rotor into the drum. These systems operate almost exactly like standard front disc brakes. Rear braking systems with the emergency brake built into the caliper cannot generally be compressed like front brake calipers.
Most of the time, these will need to be wound into the caliper using a caliper retractor tool. Adding even more complexity, electronically actuated parking brakes will require you to put the vehicle into a service mode to prevent any damage to the electronic parking brake system. You’ll just need to be aware of your vehicle’s needs when it comes to the rear brakes and act accordingly.
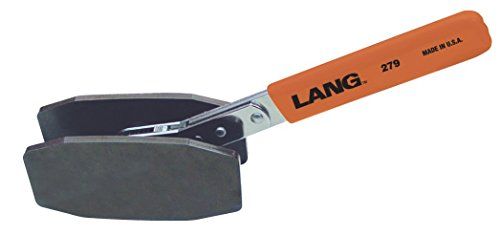
As for fixed calipers, the story is similar to floating front calipers, but instead of needing to remove the caliper guide pins, you’ll have to remove the pins or screws that keep the brake pads from flying into the abyss. Other than that, you’ll need to also remove the caliper to remove or resurface the brake rotor. You’ll also want to invest in a caliper compressor designed for fixed rotors, like this Lang unit here.
Now, after you’ve successfully replaced your brake pads, and inspected any possible points of failure while you’re in there, you’ve reached the fun part: burnishing your brake pads. Different brake pad manufacturers have different recommendations for seating your new pads, though a good rule of thumb is 20 to 30 stops from 30 mph. It should be noted that you’ll want to pump up your brake pedal before shifting your vehicle into gear because your brake calipers are pushed in.
Servicing your car might seem daunting, but it is a great way to know that it’s being maintained properly. It’s also a sound way to make sure that you don’t have any unknown problems that could be looked over by a mechanic rushing to beat the clock. Oh yeah, and you’ll save some money.

